Getting the lighting right over a kitchen table isn’t just about screwing in a fixture and calling it done. It sets the tone for family dinners, assignments sessions, and weekend morning coffee. Too dim, and nobody can see their food. Too harsh, and it feels like an interrogation room. The fixture hangs front and center in most kitchens, so it needs to work hard, functionally and visually. This guide walks through fixture types, sizing, placement, bulb selection, and design choices that make sense for real kitchens in 2026.
Table of Contents
ToggleKey Takeaways
- Pendant lights are the most effective choice for lighting over a kitchen table, delivering focused task lighting while maintaining style and flexibility in installation.
- Hang your fixture 30 to 36 inches above the tabletop and size it to one-half to two-thirds of the table’s width to avoid awkward proportions and head-bumping hazards.
- Choose LED bulbs with 1,500 to 3,000 lumens total brightness, a color temperature of 2700K to 3000K, and a CRI of 90 or higher for natural food appearance and reduced eye strain.
- Match your fixture finish to existing kitchen hardware like cabinet pulls and faucets, and consider your overall kitchen style—modern, farmhouse, traditional, or industrial—to ensure the lighting over your kitchen table feels intentional and cohesive.
- Dimmable LEDs let you adjust brightness for different activities, from dining ambiance to homework or meal prep, making your fixture more versatile.
- Building code compliance and structural safety matter: verify your ceiling box is rated for the fixture’s weight, and consult your local building department or hire a licensed electrician for new wiring or major modifications.
Why Kitchen Table Lighting Matters More Than You Think
The kitchen table is a workhorse. It handles meal prep overflow, kids’ art projects, laptop work, and actual dining. The lighting above it needs to serve all those functions without creating glare on screens or casting shadows into bowls.
Task lighting is the primary job here. People need to see what they’re cutting, reading, or eating. But the fixture also contributes to ambient lighting for the whole kitchen, especially in open-plan layouts. A well-chosen light can visually anchor the table and define the dining zone without walls.
From a design perspective, the fixture over the table is often the first thing guests notice when they walk into a kitchen. It’s a focal point. Choosing something that feels intentional, not just leftover from the previous owner, makes the whole space feel more finished.
Safety and code matter too. Electrical work must comply with the National Electrical Code (NEC), and any structural modifications (like adding a junction box to a ceiling) may require a permit depending on your jurisdiction. If you’re replacing an existing fixture on the same junction box, it’s usually a straightforward swap. If you’re adding new wiring or moving a box, call an electrician or check local building department requirements.
Types of Lighting Fixtures Best Suited for Kitchen Tables
Not all fixtures work over a table. Recessed cans alone don’t cut it, they’re too diffuse and create odd shadows on faces. You need something that directs light downward in a focused cone. Here are the most common (and most effective) options.
Pendant Lights: The Popular Choice
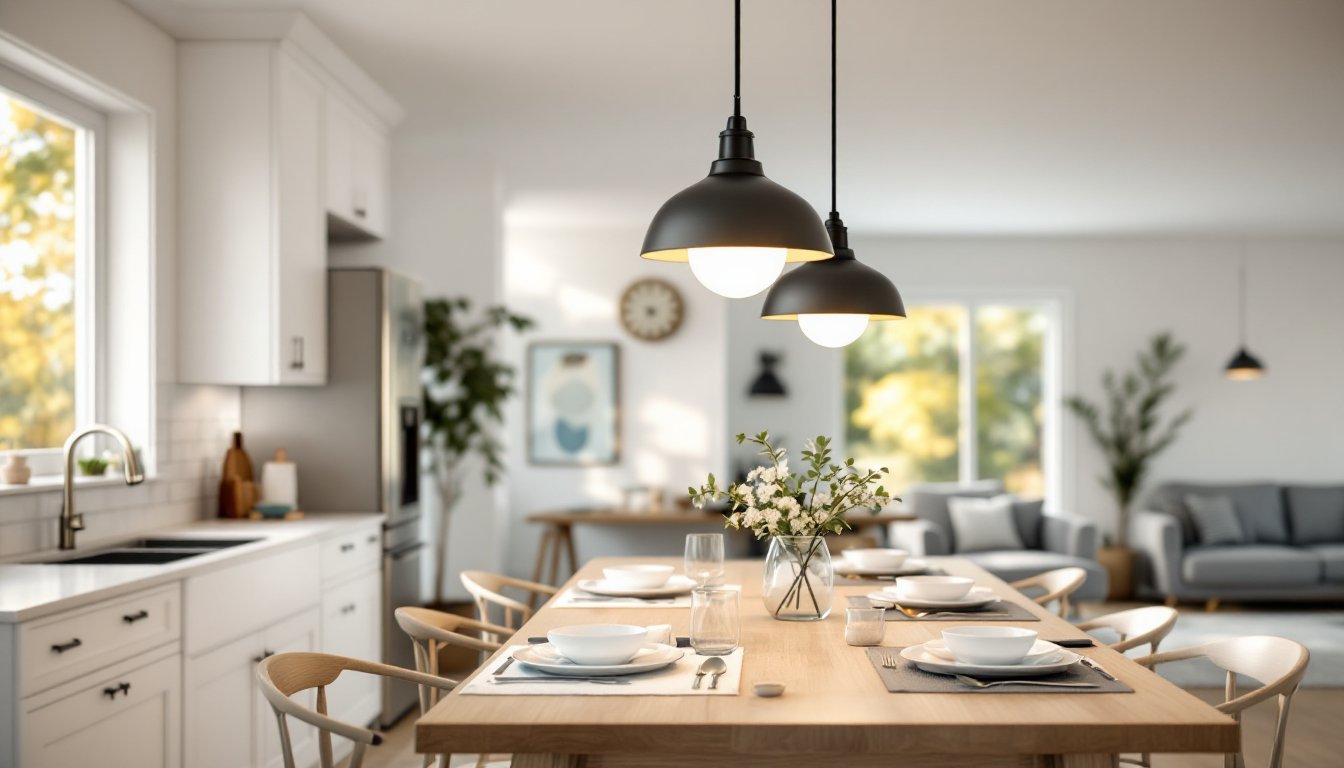
Pendant lights are the go-to for kitchen tables, and for good reason. They hang low enough to put light exactly where it’s needed without blinding anyone seated at the table. For years, designers have relied on pendant lights for kitchen islands because they deliver focused task lighting with style.
Pendants come in every shape, size, and material imaginable, glass globes, metal shades, woven rattan, concrete, blown glass. A single large pendant works over a small round or square table. For rectangular tables, most installers use two or three pendants spaced evenly along the table’s length.
Key considerations:
- Shade shape affects light spread. Open-bottom shades (like drum or dome styles) throw light straight down. Shades with gaps or perforations add ambient glow to the ceiling and walls.
- Material matters for glare. Clear glass can create hot spots. Frosted, etched, or fabric-diffused shades soften the light and reduce eye strain.
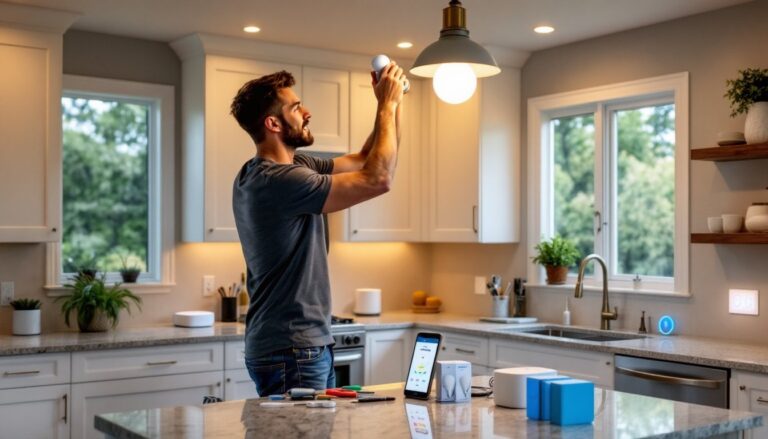
- Installation is DIY-friendly if there’s already a ceiling box in place. Turn off power at the breaker, remove the old fixture, match wires (black to black, white to white, ground to ground), mount the canopy, and hang the shade. If you’re uncomfortable with electrical work, hire a licensed electrician.
Chandeliers and Linear Fixtures
Chandeliers add formality and visual weight. They work well in traditional or transitional kitchens, especially over larger tables. Modern chandeliers can be surprisingly minimal, think black metal frames or sculptural arrangements of Edison bulbs.
Linear fixtures (also called island lights or linear chandeliers) are ideal for long rectangular tables. They distribute light evenly across the table’s length without the visual clutter of multiple pendants. Many striking pendant lights now come in linear formats, blending the best of both worlds.
Linear fixtures typically range from 30 to 60 inches long. Match the fixture length to roughly two-thirds the length of your table for balanced proportions. A 72-inch table looks good with a 48-inch linear fixture.
Chandeliers and linear fixtures usually require a solid mounting bracket rated for the fixture’s weight. Most weigh between 10 and 30 pounds. If your ceiling box isn’t rated for the load, you’ll need to install a fan-rated box or add blocking between joists. This is structural work, get it right or hire a pro.
How to Determine the Right Size and Height for Your Fixture
Getting size and height wrong is the fastest way to make a kitchen feel awkward. Too small, and the fixture looks like an afterthought. Too large, and it overwhelms the table or becomes a head-bumping hazard.
Fixture diameter or width:
- For round or square tables, the fixture (or cluster of pendants) should be one-half to two-thirds the table’s width. A 48-inch round table pairs well with a 24- to 32-inch fixture.
- For rectangular tables, use the table’s width (not length) for sizing a single large fixture. For multiple pendants, space them 24 to 30 inches apart, keeping the group centered over the table.
Hanging height:
- The standard range is 30 to 36 inches from the bottom of the fixture to the tabletop. This puts light where it’s needed without blocking sightlines across the table.
- If your ceilings are taller than 8 feet, add 3 inches of chain or rod length for every additional foot of ceiling height. A 10-foot ceiling might call for a 36- to 42-inch hang.
- Adjustable fixtures (those with chain, cable, or telescoping rods) give you flexibility. Most pendants ship with extra chain, don’t throw it out until you’ve test-hung the fixture.
Double-check clearance before you commit. Have someone hold the fixture at the planned height while you sit at the table. You shouldn’t see the bulb directly, and the fixture shouldn’t block conversation across the table.
If you’re working with standard 8-foot ceilings and need to lower the fixture more than typical, consider a low-profile ceiling box or a fixture with a very short canopy. Understanding how to light a room effectively often means rethinking ceiling height constraints.
Choosing the Best Light Bulbs and Brightness Levels
The fixture is just the delivery system. The bulb does the actual work. In 2026, LED bulbs are the default choice, they last 15,000 to 50,000 hours, use a fraction of the energy of incandescents, and come in every color temperature and brightness level you need.
Brightness (lumens):
- For a kitchen table, aim for 1,500 to 3,000 lumens total depending on table size and fixture type. A 48-inch round table does well with around 1,800 lumens. A 72-inch rectangular table might need 2,500 to 3,000.
- Divide total lumens by the number of bulbs in the fixture. Three pendants over a table? Each bulb should deliver roughly 600 to 1,000 lumens.
- Dimmable LEDs are worth the extra few dollars. They let you dial down for dinner ambiance and crank up for assignments or meal prep.
Color temperature (Kelvin):
- 2700K (warm white) is the most common choice for dining areas. It mimics the glow of old incandescent bulbs and makes food and skin tones look natural.
- 3000K (soft white) is slightly cooler, leaning toward neutral. It works well in modern or industrial kitchens.
- Avoid anything above 3500K over a dining table, it veers into the bluish, clinical range that kills appetite and makes people look washed out.
CRI (Color Rendering Index):
- Look for bulbs with a CRI of 90 or higher. This measures how accurately colors appear under the light. High-CRI bulbs make food look vibrant, not gray or muddy.
Most quality LED bulbs will list lumens, Kelvin, CRI, and dimming compatibility right on the package. Don’t assume all LEDs are dimmable, check before you buy. Pairing non-dimmable bulbs with a dimmer switch causes flickering, buzzing, or early failure.
Style and Design Considerations to Match Your Kitchen
Once the technical boxes are checked, size, height, lumens, it’s time to think about style. The fixture should feel like it belongs in the kitchen, not like it wandered in from another house.
Match or complement your cabinet hardware and faucet finishes. If you’ve got brushed nickel cabinet pulls and a stainless faucet, a fixture in polished nickel, chrome, or brushed steel keeps things cohesive. Oil-rubbed bronze, matte black, or aged brass work well in kitchens with warmer, more traditional finishes.
Consider the overall kitchen style:
- Modern/contemporary: Look for clean lines, geometric shapes, minimal ornamentation. Think matte black metal, clear or smoked glass, sculptural forms.
- Farmhouse/rustic: Wood accents, metal cage shades, Edison bulbs, or fixtures with a hand-forged look. Avoid anything too slick or shiny.
- Traditional: Chandeliers with candelabra bulbs, glass or crystal details, ornate metalwork. Brass, bronze, or polished nickel finishes.
- Industrial: Exposed bulbs, metal shades (often in black, galvanized steel, or copper), utilitarian shapes like factory pendants or warehouse-style fixtures.
The difference between lighting and illumination is subtle but important, fixtures should enhance the room’s character, not just flood it with light. Sites like The Kitchn feature real-world kitchen makeovers that show how the right fixture ties a design together.
Scale and proportion matter beyond just diameter. A fixture with a tall, narrow profile can work over a table in a kitchen with high ceilings. In a kitchen with standard 8-foot ceilings, a low-profile fixture with a wider shade keeps the space from feeling cramped.
Think about the view from adjacent rooms. In an open-plan layout, the kitchen table fixture is often visible from the living or dining room. It should harmonize with those spaces too. Applying basic lighting tips across connected spaces creates visual flow.
If you’re stuck between two fixtures, mock them up. Print photos at rough scale, tape them to the ceiling, and live with the mockups for a few days. It’s easier to change your mind with tape than with a return shipping label.
Finally, don’t ignore the electrical box and canopy. A chunky, dated canopy can ruin an otherwise sleek fixture. Many modern fixtures ship with low-profile canopies that sit nearly flush with the ceiling. If your current box sticks down or looks corroded, replace it, ceiling boxes are inexpensive, and swapping one out takes 20 minutes if the wiring is accessible.
Choosing the right lighting over a kitchen table comes down to balancing function, size, bulb selection, and style. Measure twice, check your ceiling height, pick LEDs with the right color temperature, and choose a fixture that feels intentional. Get those details right, and the kitchen table becomes the best-lit spot in the house.