
A poorly lit bathroom mirror makes everything harder, applying makeup, shaving, or checking whether that shirt actually matches. The overhead fixture might light the room, but it casts shadows exactly where they shouldn’t be: across the face. Proper mirror lighting solves this by delivering even, shadow-free illumination at eye level. Whether upgrading a builder-grade vanity or tackling a full bathroom remodel, getting the mirror lighting right transforms both function and aesthetics. This guide walks through lighting types, selection criteria, and installation steps to help anyone achieve professional-quality results.
Table of Contents
ToggleKey Takeaways
- Proper lighting bathroom mirrors at eye level (60-65 inches) with side-mounted sconces eliminates facial shadows and is far superior to overhead fixtures alone.
- Color temperature between 2700-3000K (warm white) flatters skin tones, while 3500-4100K (neutral white) provides better color accuracy for makeup application.
- Aim for 1600-1800 lumens for single vanities and 2800-3200 lumens for double vanities to achieve professional-quality bathroom mirror illumination.
- Choose fixtures with standard E26 bulbs for flexibility in swapping colors and brightness later, avoiding proprietary LED modules that lock you into one setting.
- Always shut off power at the breaker panel and use a non-contact voltage tester before any bathroom electrical work, as wet locations require strict GFCI protection compliance.
Why Proper Mirror Lighting Matters in Bathroom Design
Bathroom mirror lighting serves two critical functions: task lighting for grooming and ambient contribution to the overall space. Overhead fixtures alone create downward shadows that obscure facial details, making precision tasks frustrating and inaccurate.
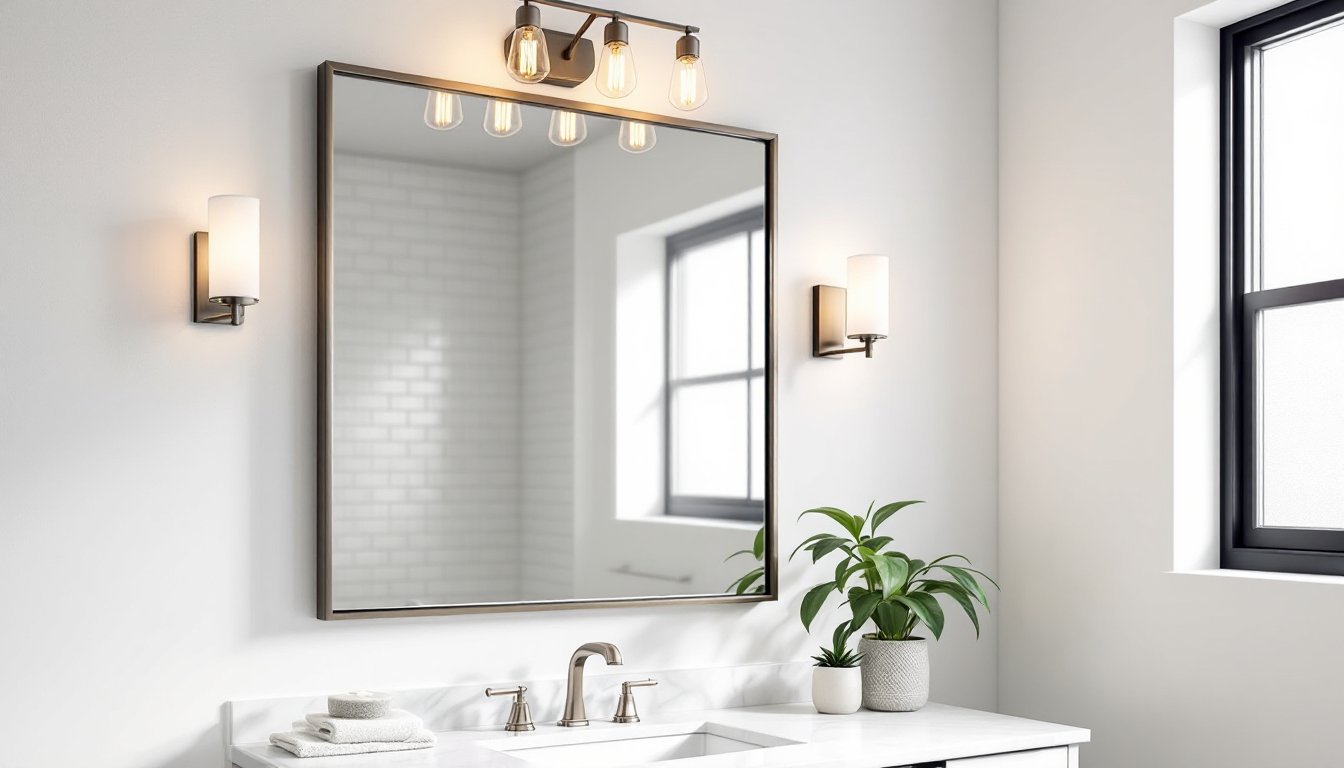
Task lighting positioned at face height eliminates these shadows by providing cross-illumination. Fixtures mounted on either side of the mirror at roughly 60-65 inches off the floor deliver the most even coverage across the face. A single fixture above the mirror can work in smaller bathrooms, but side-mounted sconces or vertical bar lights remain the gold standard for shadow-free illumination.
Beyond function, mirror lighting significantly impacts bathroom ambiance and perceived size. Well-placed fixtures create depth and visual interest, while poor lighting flattens the space. In bathrooms with limited natural light, the mirror zone often becomes the primary light source during evening hours, making fixture selection even more critical.
Color temperature matters more in bathrooms than in most rooms. Bulbs in the 2700-3000K range (warm white) provide flattering light for skin tones, while 3500-4100K (neutral white) offers better color accuracy for makeup application. Avoid bulbs above 5000K in bathrooms, they create harsh, clinical lighting that few find appealing.
Types of Bathroom Mirror Lighting Options
Vanity Light Bars and Sconces
Vanity light bars mount horizontally above the mirror and typically hold 2-6 bulbs in a linear fixture. These work well in smaller bathrooms (under 50 square feet) or powder rooms where side mounting isn’t feasible. Look for fixtures at least two-thirds the width of the mirror for balanced coverage, a 36-inch mirror pairs best with a 24-inch or larger bar.
Most vanity bars accept standard medium-base (E26) bulbs, giving flexibility in choosing LED, CFL, or incandescent options. Avoid fixtures with opaque or heavily frosted shades that trap too much light: clear or lightly frosted glass diffuses without significant loss.
Sconces mounted vertically on either side of the mirror deliver superior task lighting. Position them 28-30 inches apart (center-to-center) for a standard 24-30 inch mirror, with the fixture center at 60-65 inches above the finished floor. This places light sources at face height for even coverage.
Wall sconces come in hardwired and plug-in versions. Hardwired installation requires an electrical box behind the wall, straightforward in new construction but more involved in retrofit situations. If running new wire isn’t practical, plug-in sconces with cord covers offer a cleaner look than leaving cords exposed, though they’ll never match the finished appearance of hardwired fixtures.
For bathrooms with double vanities, use four sconces total (two per mirror) or a pair of longer vanity bars. The essential lighting principles that work in other rooms apply here: layer your sources and avoid relying on a single overhead fixture.
Backlit and LED Mirror Panels
Backlit mirrors feature LED strips mounted behind the mirror perimeter, creating a soft halo effect against the wall. These provide ambient lighting rather than focused task lighting, so they work best as supplemental fixtures paired with overhead or sconce lighting, not as the sole source.
Installation involves either plugging into a nearby outlet or hardwiring into an electrical box. Many backlit mirrors include a touch-sensitive dimmer and color temperature adjustment (typically 3000K-6000K range). This flexibility helps balance bathroom lighting throughout the day, though most users settle on one preferred setting and leave it.
LED mirror panels integrate the light source into the mirror itself, with edge-lit or front-lit LED arrays. Edge-lit models have LEDs along the mirror perimeter shining inward, while front-lit versions place a diffused LED panel behind a two-way mirror surface.
These all-in-one units eliminate the need for separate fixtures but commit the buyer to a specific mirror size and style. Replacement becomes more complex if the LEDs fail, though quality units from established manufacturers typically rate for 50,000+ hours.
Most LED mirrors draw 20-40 watts total, significantly less than traditional vanity lighting. Calculate coverage at roughly 75-100 lumens per square foot for bathroom task lighting. A 30-inch LED mirror might output 1500-2000 lumens, adequate for a single-sink vanity but insufficient for larger double-vanity installations without supplemental lighting.
Some LED mirrors include defogger pads (heated elements that prevent mirror condensation) and built-in outlets for electric razors or toothbrushes. These features add convenience but increase both installation complexity and cost. Any installation involving electrical work in wet locations must follow NEC Article 406.9 requirements for GFCI protection, this isn’t optional in bathrooms.
How to Choose the Right Lighting for Your Bathroom Mirror
Start by measuring the mirror and surrounding wall space. A fixture that looks proportional in a product photo can overwhelm or disappear on the actual wall. For sconces, verify there’s at least 6 inches of clearance between the fixture and any adjacent walls, medicine cabinets, or other obstacles.
Bathroom size dictates both fixture quantity and wattage. A half-bath with a 24-inch vanity needs far less light than a 72-inch double vanity in a master suite. As a baseline, aim for 1600-1800 lumens for a single vanity, 2800-3200 lumens for a double.
Consider the existing electrical infrastructure. If there’s already an electrical box positioned correctly for sconces, installation becomes straightforward. If boxes need to be added, that involves cutting drywall, running cable, and patching, doable for experienced DIYers but time-consuming. Plug-in fixtures or LED mirrors eliminate this work but come with their own aesthetic compromises.
Fixture finish should coordinate with other bathroom hardware (faucets, drawer pulls, towel bars). Chrome, brushed nickel, oil-rubbed bronze, and matte black dominate current bathroom design. Mixing metals can work in eclectic spaces, but matching creates a more cohesive look in traditional bathrooms.
Bulb compatibility matters more than many realize. Some fixtures use proprietary LED modules that can’t be replaced with standard bulbs. This locks the buyer into a specific color temperature and brightness. Fixtures accepting standard E26 bulbs offer more flexibility, if the light feels too warm or too cool, swap the bulbs rather than replacing the entire fixture.
Platforms like Houzz showcase thousands of bathroom lighting installations across various styles and budgets, helping narrow down what actually works in real spaces versus catalog photos. Pay attention to fixture scale relative to mirror size in these photos.
Dimming capability adds versatility for bathrooms that pull double duty as relaxation spaces. Not all LED bulbs dim smoothly, check bulb packaging for “dimmable” labeling and verify compatibility with the dimmer switch type. Magnetic low-voltage and electronic low-voltage dimmers aren’t interchangeable, and using the wrong type causes flickering or buzzing.
For those still figuring out broader lighting strategy, the mirror zone should be the brightest area in the bathroom, with ambient and accent lighting playing supporting roles.
Step-by-Step Installation Guide for Mirror Lighting
Before starting: Verify local codes. Some jurisdictions require licensed electricians for all bathroom electrical work. Most allow homeowner installation of fixtures onto existing boxes, but running new circuits typically requires permits and inspection.
Safety first: Shut off power at the breaker panel, not just the wall switch. Use a non-contact voltage tester to confirm power is off before touching any wires. Bathrooms are wet locations, take electrical safety seriously.
Tools and Materials Needed:
- Non-contact voltage tester
- Screwdriver set (Phillips and flat-head)
- Wire stripper/cutter
- Wire nuts (typically 2-3 per fixture)
- Mounting hardware (usually included with fixture)
- Level (2-foot or laser level)
- Pencil for marking
- Safety glasses
- Stud finder (if mounting to wall rather than existing box)
For Hardwired Vanity Bars or Sconces:
-
Mark mounting height. For bars, center at 75-80 inches above the floor for most mirrors. For sconces, mark center at 60-65 inches. Use a level to ensure marks are even.
-
Confirm electrical box location. The box should align with your marks. If not, reconsider fixture placement or plan to relocate the box (advanced work requiring wall opening).
-
Remove old fixture if replacing existing lighting. Unscrew mounting plate, disconnect wire nuts, and carefully pull out the old fixture. Keep the mounting screws if the new fixture doesn’t include appropriate hardware.
-
Connect wires. Match black to black (hot), white to white (neutral), and green or bare copper to the ground wire or grounding screw. Twist wires together clockwise before securing with wire nuts. Tug gently to verify connections are solid.
-
Attach mounting bracket to the electrical box using the provided screws. The bracket should sit flush against the wall or finished surface. Many people working on general home lighting projects skip this step by forcing the fixture base to hold wires, creating loose connections over time.
-
Mount fixture to the bracket. Most use a center screw that threads into the mounting bracket, with the fixture base concealing the electrical box. Align carefully before tightening completely.
-
Install bulbs according to fixture specifications. Don’t exceed the maximum wattage listed, LED bulbs make this easy since most quality LEDs stay under 15 watts while delivering incandescent-equivalent light.
-
Restore power at the breaker and test. If the fixture doesn’t light, shut off power again and check wire connections.
For LED Mirrors:
-
Position the mirror. Most LED mirrors include a template for marking mounting holes. Use a level and measure carefully, mistakes here are costly since mirrors are fragile.
-
Install mounting clips or brackets according to manufacturer instructions. Many use a French cleat system or J-bar that supports the mirror weight while keeping it tight to the wall.
-
Make electrical connections. Hardwired models require connecting to an electrical box behind the mirror location. Plug-in models need access to a nearby GFCI outlet, plan wire routing before mounting the mirror.
-
Hang the mirror on the installed mounting system. Most require a second person for larger mirrors (36 inches and up). Glass breaks easily under uneven pressure.
-
Test all functions: lights, dimmers, defogger (if equipped), and any integrated outlets.
Common Mistakes to Avoid:
- Skipping the voltage tester and assuming power is off
- Over-tightening mounting screws, which can crack fixture bases or mirror backing
- Mounting sconces too high or too far apart, creating inadequate task lighting
- Using non-GFCI protected circuits in bathroom wet locations
- Forgetting to account for medicine cabinet swing clearance when positioning sconces
If running new electrical wire is required, that involves different tools and skills. Many DIYers comfortable with fixture installation still hire electricians for running new circuits. Sites like The Spruce provide detailed electrical tutorials, but local codes and permit requirements vary significantly.
For bathroom projects requiring comprehensive fixture changes across multiple zones, reviewing complete lighting guides helps coordinate mirror, shower, and ambient lighting into a cohesive system.
Conclusion
Good bathroom mirror lighting eliminates shadows, improves grooming accuracy, and elevates the entire space. Whether installing sconces beside a framed mirror or upgrading to an integrated LED panel, the key steps remain the same: measure carefully, respect electrical safety, and choose fixtures scaled appropriately for the space. The difference between adequate and excellent bathroom lighting often comes down to fixture placement and color temperature, details that cost nothing extra but deliver outsized results.


