
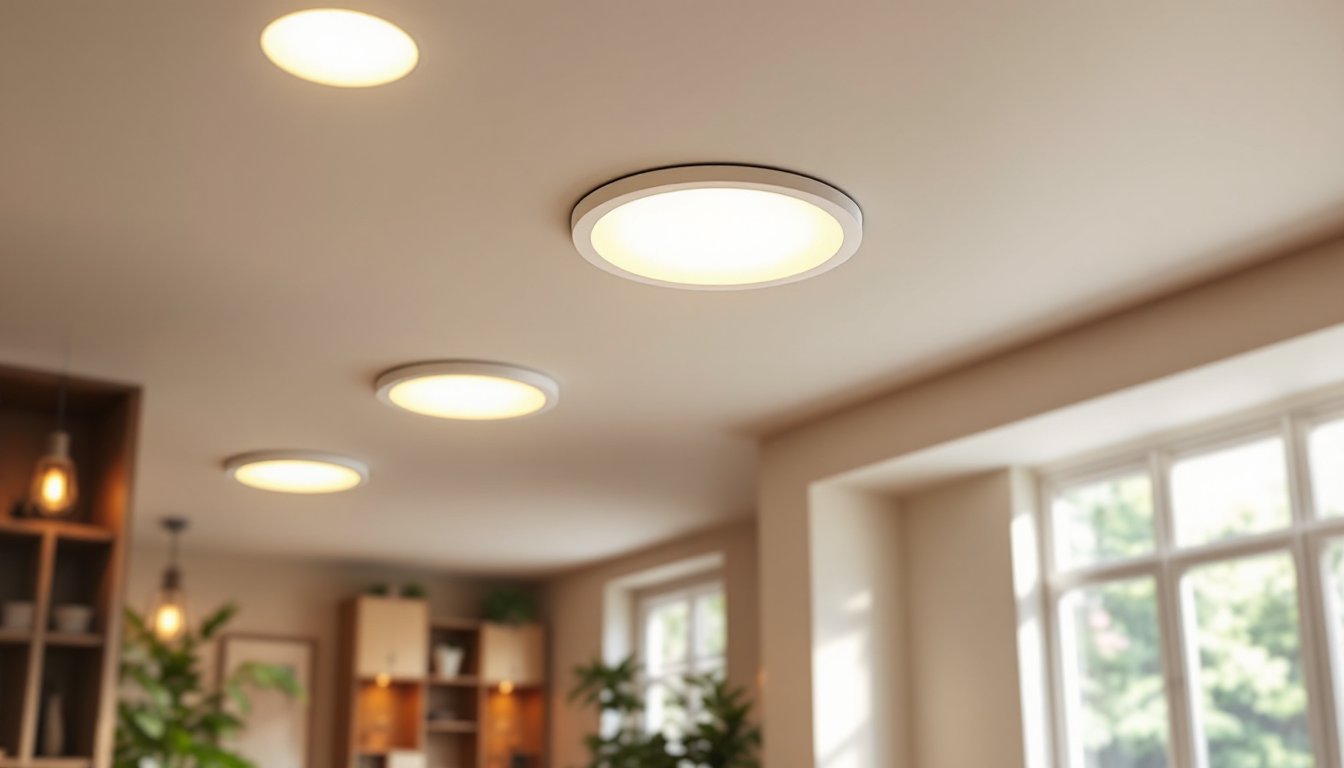
Recessed lighting has become a staple in modern home design, and the 6 inch LED can light stands as the most versatile option for most residential applications. Unlike smaller 4-inch fixtures, 6-inch cans deliver enough light output for primary room illumination while maintaining a clean, unobtrusive ceiling profile. They fit standard joist spacing, accommodate a wide range of trim styles, and work equally well in new construction or retrofit scenarios. Whether someone’s upgrading from outdated incandescent cans or planning a complete lighting overhaul, understanding the nuances of these fixtures, from lumen output to installation depth, makes the difference between a professional-looking result and a frustrating DIY project.
Table of Contents
ToggleKey Takeaways
- 6 inch LED recessed lighting is the most versatile option for residential applications, fitting standard joist spacing while delivering efficient, professional-quality illumination.
- LED recessed lights consume 85% less energy than incandescent equivalents while lasting over 50,000 hours, making them a cost-effective long-term investment for any home.
- Proper fixture placement depends on room function—space lights roughly half your ceiling height apart, position kitchen lights 18-24 inches from cabinet faces, and use perimeter placement in living areas to create wall-washing effects.
- Always choose fixtures based on lumens and color temperature (2700K for warmth, 3000-4000K for task lighting) rather than wattage equivalents, and verify dimmer compatibility before purchasing.
- DIY installation requires a permit in most jurisdictions, proper electrical knowledge, and attention to IC ratings in insulated ceilings to ensure code compliance and fire safety.
Why 6 Inch LED Recessed Lights Are the Perfect Choice for Modern Homes
The 6-inch diameter hits a sweet spot for residential ceilings with standard 8 to 9-foot heights. These fixtures provide adequate spacing between joists (typically 16 inches on center) without requiring custom framing. The housing depth ranges from 3 to 7 inches depending on whether it’s a new construction or remodel-rated can, giving electricians flexibility in tight ceiling cavities.
LED technology transformed recessed lighting from an energy hog into an efficient workhorse. A typical 6-inch LED fixture draws 12 to 15 watts while producing light equivalent to a 65-75 watt incandescent bulb. That translates to roughly 85% less energy consumption and a lifespan exceeding 50,000 hours, nearly 25 years at typical residential usage rates.
Heat management is another critical advantage. Older incandescent and halogen recessed lights generated enough heat to necessitate IC (Insulation Contact) rated housings that cost more and installed awkwardly in insulated ceilings. Modern LED cans run cool enough that most are inherently IC-rated, simplifying installation in conditioned spaces and reducing fire risk.
The 6-inch format also accommodates various trim options, baffle, reflector, wall-wash, and eyeball styles, without custom ordering. Homeowners can swap trims without replacing the housing, making it easy to update a room’s look or adjust beam spread as furniture layouts change.
Key Features to Look for When Buying 6 Inch LED Recessed Lighting
Lumens and Color Temperature
Ignore wattage equivalents and focus on lumens, the actual measure of light output. For general ambient lighting in living spaces, kitchens, and bedrooms, aim for 650 to 850 lumens per fixture. Task-oriented areas like workshops or detailed hobby spaces may warrant 1,000+ lumens.
Color temperature dramatically affects a room’s ambiance. Measured in Kelvin (K), the scale runs from warm to cool:
- 2700K: Warm white, similar to incandescent bulbs. Best for bedrooms, dining rooms, and living areas where a cozy feel is desired.
- 3000K: Soft white, a middle ground that works in kitchens and bathrooms without feeling clinical.
- 3500K-4000K: Neutral to cool white. Ideal for task lighting, garages, and basements.
- 5000K+: Daylight tones. Too harsh for most residential applications but useful in workshops.
Many DIYers make the mistake of mixing color temperatures in the same space. Even a 500K difference is noticeable to the human eye, creating an unintentional patchwork effect.
Dimming Capabilities and Smart Home Integration
Not all LED recessed lights dim smoothly. Cheap drivers can flicker, buzz, or drop out entirely at low settings. Look for fixtures explicitly rated as dimmable and check compatibility with the dimmer switch type, most residential applications use TRIAC or ELV dimmers, but verify before purchasing.
The dimmer itself matters as much as the fixture. Standard incandescent dimmers often cause LED lights to strobe or hum. Invest in an LED-compatible dimmer rated for the total wattage of all fixtures on the circuit. For six 15-watt LEDs (90 watts total), a 150-watt rated LED dimmer provides adequate headroom.
Smart home integration has moved beyond novelty into practical territory. Wi-Fi or Zigbee-enabled 6-inch recessed lights allow scheduling, remote control, and integration with voice assistants. Some systems support tunable white technology, adjusting color temperature throughout the day to match circadian rhythms. This feature requires compatible housings and adds $20-40 per fixture, but the convenience often justifies the cost in frequently used rooms.
Best Placement Strategies for 6 Inch Recessed Lights in Every Room
Proper spacing prevents dark spots and overlighting. The general rule: divide ceiling height by two to get spacing in feet. For an 8-foot ceiling, space fixtures roughly 4 feet apart. This creates overlapping light pools without harsh shadows.
Kitchens require task-specific placement. Position lights 18 to 24 inches from the face of upper cabinets to illuminate countertops without creating shadows when someone stands at the counter. In galley kitchens, run a single row down the center. In larger kitchens, use a grid pattern with fixtures spaced evenly.
Living rooms and bedrooms benefit from perimeter placement rather than a central grid. Fixtures positioned 24 to 30 inches from walls create wall-washing effects that make rooms feel larger and highlight artwork or architectural details. Avoid placing recessed lights directly above seating areas where they’ll shine in occupants’ eyes.
Bathrooms need targeted illumination. Place lights over the vanity, centered on the mirror, and avoid positioning them directly above the shower unless the housing is rated wet location (most are only damp-rated). Building codes in many jurisdictions require GFCI protection for bathroom lighting circuits, particularly in older homes being renovated.
Basements present unique challenges with lower ceilings and exposed joists in unfinished spaces. The standard basement lighting approach focuses on maximizing perceived height, recessed lights help by eliminating the visual clutter of pendant or surface-mount fixtures. In finished basements with 7-foot ceilings, reduce spacing to 3 to 3.5 feet between fixtures to compensate for lower mounting height.
Hallways work best with fixtures centered and spaced 4 to 6 feet apart along the length. In long corridors, this prevents the cave-like effect of a single central fixture.
Step-by-Step Installation Guide for DIY Homeowners
Safety first: Turn off power at the circuit breaker, not just the wall switch. Verify it’s off using a non-contact voltage tester. Wear safety glasses and gloves when cutting drywall.
Tools and materials needed:
- 6-inch recessed light housings (new construction or remodel type)
- LED trim kits or integrated LED units
- Drill with hole saw (6-inch for retrofit, 7-inch for clearance in some housings)
- Drywall saw or oscillating multi-tool
- Wire strippers and connectors
- Stud finder
- Fish tape (for retrofit installations)
- Voltage tester
Step 1: Plan the layout. Mark ceiling positions with painter’s tape. Use a stud finder to locate joists, housings must fit between them. Standard 6-inch cans need roughly 7 inches of clearance between joists.
Step 2: Check clearances above the ceiling. In retrofit situations, verify there’s adequate depth. Remodel housings are shallow (3 to 4 inches) but still need clearance above drywall. Measure from an attic access point or by drilling a small pilot hole.
Step 3: Cut the opening. For new construction, install housings before drywall goes up, they’re designed with adjustable brackets that nail directly to joists. For retrofit, trace the template provided with the housing and cut carefully with a drywall saw. A hole saw works but creates a ton of dust: work with a helper holding a shop vac nozzle near the bit.
Step 4: Run electrical. This is where permits come in. Most jurisdictions require a permit for new circuits or extending existing ones. Homeowners can typically do their own electrical work, but it must be inspected. Follow NEC (National Electrical Code) guidelines: 14-gauge wire for 15-amp circuits, 12-gauge for 20-amp. If the run involves fishing wire through finished walls, many DIY repair tutorials cover techniques using fish tape and flexible drill bits.
Step 5: Install the housing. Remodel cans use spring clips that grab the drywall from above. Push the housing into the ceiling opening, then push the clips up until they snap into place. Tug gently to verify it’s secure.
Step 6: Make electrical connections. Most LED recessed lights use a junction box integral to the housing. Strip ½ inch of insulation from wire ends, connect black to black, white to white, and ground to the green screw or bare copper wire. Use wire nuts rated for the gauge. Tuck wires neatly into the box.
Step 7: Attach the trim. LED trims typically use torsion springs or twist-lock mechanisms. Align the trim’s electrical connector (if separate from the housing), push up into the can, and secure the springs into the housing’s slots.
Step 8: Test and adjust. Restore power and verify operation. If using a dimmer, test the full range. Flickering usually means incompatible dimmer or loose connections.
Common mistakes to avoid: Cutting openings before verifying joist locations leads to misplaced holes that require patching. Skipping the IC rating in insulated ceilings is a code violation and potential fire hazard. Over-tightening wire nuts can break strands, creating high-resistance connections that heat up.
For those tackling whole-home lighting upgrades, browsing home design inspiration helps visualize how different trim styles and spacing patterns perform in real spaces before committing to a layout.
Conclusion
Six-inch LED recessed lighting delivers the flexibility and efficiency modern homes demand. Choosing the right lumens and color temperature, placing fixtures strategically, and executing a code-compliant installation transforms dated rooms into well-lit, energy-efficient spaces. With the right preparation and attention to detail, this is a DIY project most homeowners can tackle confidently over a weekend.


