
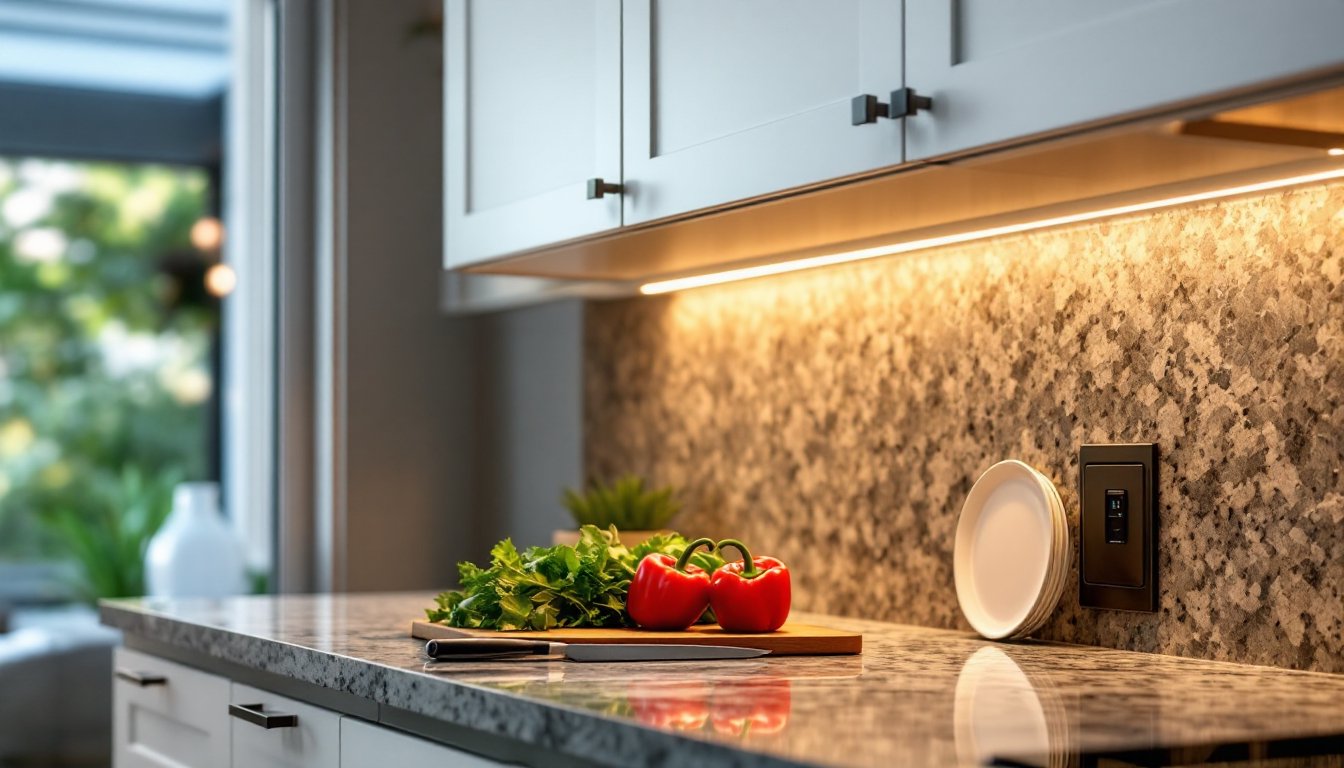
Under cabinet lighting transforms a kitchen from functional to professional-grade. It eliminates shadows on your countertop work surface, adds visual depth, and makes prep work safer. While 120V and battery-powered options exist, 12V systems offer the sweet spot of energy efficiency, safety, and installation flexibility. Whether someone’s remodeling a dated kitchen or adding finishing touches to new cabinets, 12V under cabinet lighting delivers consistent, low-heat illumination without the complexity of line-voltage wiring. This guide walks through everything needed to choose, install, and optimize a 12V lighting system.
Table of Contents
ToggleKey Takeaways
- 12V under cabinet lighting offers superior safety, energy efficiency, and installation flexibility compared to 120V systems, making it ideal for DIY kitchen upgrades.
- LED strip lights provide continuous, even illumination for long countertop runs, while puck lights create focused pools of light and work better for retrofitting existing cabinets.
- Choose a transformer wattage by calculating total fixture wattage and adding 20% headroom—for example, a 60-watt transformer for approximately 48 watts of LED strips.
- Mount the transformer inside a nearby cabinet, use aluminum channels to hide light sources and reduce glare, and position 12V fixtures 2-3 inches back from the cabinet edge for optimal results.
- Test polarity and connections before securing everything, maintain LED fixtures by cleaning diffusers monthly, and plan cable runs before installation to avoid surprises and ensure a professional finish.
Why Choose 12V Under Cabinet Lighting?
12V lighting systems run on low voltage, which means they’re safer to work with than standard 120V household circuits. There’s minimal shock risk during installation or troubleshooting, making them a solid choice for DIYers who want to avoid hiring an electrician for every adjustment.
Energy efficiency stands out as another key advantage. Most 12V fixtures use LED technology, drawing a fraction of the power that halogen or incandescent options require. A typical LED strip at 12V consumes around 3-5 watts per foot, compared to 8-12 watts for older halogen puck lights. Over the life of the system, that adds up to real savings on the electric bill.
Heat output matters more than most people realize. LEDs at 12V stay cool enough to touch even after hours of use, which protects cabinetry finish and reduces fire risk. Halogen pucks, by contrast, can scorch wood or discolor laminate if installed too close to surfaces.
Installation flexibility is where 12V really shines. The system requires a transformer (also called a driver) to step down household 120V power to 12V, but after that, the low-voltage wiring is forgiving. It can be cut to length, spliced with simple connectors, and routed through tight spaces without conduit in most residential applications. This isn’t structural or line-voltage work, so permits typically aren’t required, though it’s always smart to check local codes.
Finally, dimming capability comes standard with most 12V LED systems. Pairing a compatible dimmer with the transformer allows fine control over light levels, from bright task lighting during meal prep to soft ambient glow for evening entertaining.
Types of 12V Under Cabinet Lighting
Two main fixture styles dominate the 12V under cabinet category: LED strip lights and puck lights. Each has distinct advantages depending on the layout, budget, and desired light quality.
LED Strip Lights
LED strip lights (also called tape lights or ribbon lights) consist of a flexible circuit board with surface-mounted diodes spaced every half-inch to two inches. They come in reels, typically 16 feet long, and can be cut at marked intervals to fit cabinet runs exactly.
Strips deliver continuous, even illumination with no dark spots between fixtures. This makes them ideal for long countertop runs or L-shaped layouts. The slim profile, usually under a quarter-inch thick, lets them tuck into the recess between the cabinet bottom and the wall, keeping the light source hidden from view.
Color temperature options range from warm white (2700K–3000K) to cool white (4000K–5000K). Warm white mimics incandescent bulbs and flatters wood tones, while cool white provides crisper task lighting that’s closer to daylight. Some strips offer tunable white or RGB color-changing modes, though those add cost and complexity better suited to accent lighting than task work.
Adhesive backing makes installation quick, but don’t rely on it alone for permanent mounting. The adhesive fails over time, especially in kitchens where heat and humidity fluctuate. Use aluminum channel (also called extrusion) to house the strip. The channel acts as a heat sink, extends LED lifespan, and provides a clean finished edge. It also accepts snap-in diffusers that soften the light and eliminate the “dotted” look of exposed diodes.
Strips are sold by density, 30, 60, or 120 LEDs per meter. Higher density means smoother light but also higher power draw and cost. For most kitchens, 60 LEDs per meter hits the sweet spot between brightness and budget.
Puck Lights
Puck lights are small, disc-shaped fixtures, usually 2 to 4 inches in diameter, that mount individually under cabinets. They create pools of light rather than continuous coverage, which works well for highlighting specific zones like a coffee station or cookbook nook.
Installation is straightforward: surface-mount them with screws or adhesive, then daisy-chain them together using low-voltage wire. Most kits include pre-cut lengths with snap connectors, so no soldering or wire stripping is needed.
Pucks are easier to retrofit into existing cabinets than strips, especially if there’s no room for channels or if the cabinet bottoms have cross braces that would interrupt a continuous strip. They’re also more forgiving if someone’s not comfortable cutting and splicing tape light.
The downside is uneven coverage. Spacing pucks too far apart leaves dark gaps: spacing them too close wastes fixtures and creates overlapping hotspots. A good rule of thumb: place pucks every 12 to 18 inches for general task lighting, closer for reading or detailed work.
Light quality varies more with pucks than strips. Cheaper models use a single high-power LED that casts harsh shadows. Better options use multiple lower-power diodes arranged in a cluster for more diffused output. Many low-voltage lighting options include dimmable puck kits designed for residential kitchens.
How to Install 12V Under Cabinet Lighting
Start by measuring the cabinet runs and sketching a simple layout. Mark where the transformer will sit, where fixtures will mount, and how wire will route between them. This planning step prevents surprises mid-install.
Materials and Tools Needed:
- 12V LED strips or puck lights (sized to your layout)
- 12V transformer/driver (matched to total wattage)
- Low-voltage wire (18-gauge stranded copper is standard)
- Wire connectors (solder or twist-on, depending on system)
- Aluminum channel and diffuser (for strip lights)
- Mounting clips or adhesive backing
- Wire cutters/strippers
- Screwdriver or drill
- Safety glasses
Step-by-Step Installation:
-
Turn off power at the breaker to the circuit where the transformer will connect. Use a non-contact voltage tester to confirm power is off.
-
Mount the transformer in an accessible spot, inside a cabinet near an outlet is common. Some transformers plug into a standard receptacle: others require hardwiring into a junction box. If hardwiring, follow the transformer’s wiring diagram and secure connections with wire nuts. This is 120V work, so if someone’s not comfortable with it, hire a licensed electrician.
-
Install aluminum channels (for strip lights) under the cabinet front edge, about 2 inches back from the face frame. Pre-drill screw holes if mounting to hardwood. Channels keep the light source hidden and reduce glare.
-
Cut LED strips to length at the marked cut points (usually every 2 inches). Peel the adhesive backing and press the strip into the channel. For added security, use the mounting clips that come with most channels.
-
Run low-voltage wire from the transformer output to the first fixture. Tuck wire along the back edge of cabinets or drill small holes through cabinet walls to keep runs neat. Use cable staples to secure wire, but don’t overtighten, crushed insulation can cause shorts.
-
Connect fixtures to the wire using the manufacturer’s connectors. Strip about 1/4 inch of insulation, insert the wire into the connector, and lock it down. Polarity matters with LEDs: match positive (+) to positive and negative (–) to negative. Reversed polarity won’t damage most LEDs, but they won’t light up.
-
Daisy-chain additional fixtures by running wire from the output of one fixture to the input of the next. Keep total wire length under the transformer’s maximum run specification (usually 15–30 feet depending on wire gauge).
-
Test the system before buttoning everything up. Restore power at the breaker and flip the switch. If some fixtures don’t light, check polarity and connector seating.
-
Install diffusers over LED strips to soften the light. Snap them into the channel, no tools needed.
-
Secure all connections with cable ties or adhesive mounts to prevent sagging or snagging.
Safety Note: Always wear safety glasses when drilling overhead, and use a sturdy stepladder, not a chair. Low-voltage wiring is safe to handle, but the transformer itself connects to 120V household power, which can cause serious injury if miswired.
Choosing the Right Transformer and Placement Tips
The transformer (or driver) is the heart of a 12V system. It converts 120V AC household power to 12V DC, which the LEDs require. Undersizing it causes flickering or dim output: oversizing wastes money but doesn’t hurt performance.
Calculate total wattage by adding up every fixture on the system. For example, three 4-foot LED strips at 4 watts per foot equals 48 watts (3 strips × 4 feet × 4 watts). Add 20% headroom to account for voltage drop and future expansion, bringing the transformer requirement to about 58 watts. In this case, a 60-watt transformer would be the right choice.
Transformers come in plug-in and hardwired versions. Plug-in models are the easiest DIY option, just mount the transformer inside a cabinet and run a short cord to an outlet. Hardwired transformers require a junction box and connect directly to household wiring. They’re cleaner-looking and better for permanent installations, but they may require an electrician depending on local code and comfort level.
Look for transformers with Class 2 rating, which indicates they meet National Electrical Code (NEC) standards for low-voltage wiring. Class 2 outputs are current-limited, meaning they won’t deliver enough power to start a fire even if wires short out.
Placement matters more than most people think. Mounting the transformer inside the cabinet closest to the power source minimizes 120V wire runs and keeps the transformer accessible for troubleshooting. Avoid placing it near the stove or dishwasher vent, where heat and moisture can shorten its lifespan.
For dimmable systems, use a trailing-edge (electronic) dimmer designed for LED loads. Standard incandescent dimmers can cause buzzing, flickering, or shortened LED life. Install the dimmer on the 120V side of the transformer, not the 12V side. Some transformers have built-in dimming capability, which simplifies the setup.
Voltage drop becomes an issue on long wire runs. If the total low-voltage wire length exceeds 15 feet, consider using 16-gauge wire instead of 18-gauge to reduce resistance. Alternatively, install multiple smaller transformers distributed along the cabinet run rather than one large central unit.
Design Ideas and Best Practices for Under Cabinet Lighting
Good under cabinet lighting should be invisible when off and unobtrusive when on. Position fixtures 2 to 3 inches back from the cabinet’s front edge to keep the light source out of sight lines. Too far forward and it creates glare: too far back and it casts shadows from items on the counter.
Color temperature affects both function and mood. For task lighting, most designers recommend 3000K to 4000K, warm enough to feel inviting but bright enough for detail work like chopping vegetables. Warmer temps (2700K) suit traditional or rustic kitchens, while cooler temps (4000K+) fit modern or minimalist spaces. Experts in task-lighting applications often suggest testing a sample strip before committing to an entire kitchen.
Layering light creates depth. Under cabinet fixtures handle task lighting: add recessed cans or pendants for ambient light and accent lights inside glass-front cabinets for visual interest. A single lighting type makes a kitchen feel flat.
Avoid the “runway effect” by using diffusers or frosted lenses. Exposed LED strips create a line of bright dots that draw the eye and cause glare when viewed from certain angles. A simple snap-in diffuser spreads the light and gives a more polished look.
For open shelving or floating cabinets, consider toe-kick lighting or top-of-cabinet lighting plus to under-cabinet fixtures. Running a 12V strip along the toe kick adds subtle ambient light and makes the cabinets appear to float. Top-of-cabinet lighting highlights decorative items or washes the ceiling with uplight.
Color-changing RGB strips are tempting, but they’re better for accent lighting than task work. RGB LEDs can’t produce true white light, they blend red, green, and blue diodes to approximate it, and the result often looks washed out or tinted. If someone wants color options, look for RGBW strips that include dedicated white diodes alongside the color channels.
Maintenance is minimal but not zero. Wipe diffusers monthly with a damp cloth to prevent dust buildup, which reduces light output. Check wire connections annually, especially in high-humidity areas. LEDs rated for 50,000 hours will last 15+ years under typical kitchen use, but transformers and dimmers may need replacement sooner.
For DIY guidance on related home projects, resources like Family Handyman offer step-by-step tutorials that complement lighting installations. Keep your kitchen’s style and workflow in mind, lighting should enhance both without drawing attention to itself.


